1. Solar Panels
These use something called the photo-electric effect to turn the sun’s energy into electrical power. On your next walk around the block, look to see if any houses in your neighbourhood have solar panels. Maybe you have some small solar powered garden lights, or you might have some Christmas lights powered by a small solar panel (these will also have batteries that store the electrical energy during the day so the lights can turn on at night).
2. Heat to Energy
We can use the power of the sun by focussing the light to a concentrated beam that becomes extremely hot. There are a small number of power stations around the world that use hundreds of mirrors to focus lots of sunlight on to a target mounted on a tower. The heat at is then used to produce hot steam which can be used to turn electrical devices called generators which produce energy thanks to another physics principle called the electro-motive force. While there are a lot of different types of generators, they are roughly the same as ones used to generate electricity from wind turbines and hydro-electricity power stations.
3. Converting Light to Heat
This is a variation on the one discussed above. You may notice on your walk around the block, some houses have something on their roof that doesn’t look like a normal solar panel. These use the sun’s heat and light to heat water which is passed through dark coloured (usually black) pipes placed on the roof. With this method no electricity is produced, but the water is heated directly. The tubes are black so more of the sun’s energy is captured than just heat (infra-red). As light hits any object, some is reflected back – with white surfaces, most light is reflected, but with black, almost nothing is reflected. So what happens to that light? The black surface absorbs what is known as short wave solar radiation (visible light) and it is converted into long wave radiation (heat). This principle is used to help heat the water on those different solar water heating panels you may see.
Experiment time!
The first, super simple one you can try is to leave your garden hose coiled up in a big spiral on the lawn, filled with water in the sun (must be a sunny day) for an hour or two – when you first turn the tap on – is the water temperature coming from the end of the hose the same as you would get from the tap in the house? How long do you need to run the water through the hose to change the water temperature to normal?
Using the sun's heat experiment

You need:
- A glass ball (sphere) – you could use a photography spherical lens, a crystal ball or even some snow globes. Just be very careful to make sure you HAVE PERMISSION to use whatever you find and take good care of it! A magnifying glass – these can also work.
- Direct sunlight (outside is best)
- Piece of cardboard
Method:
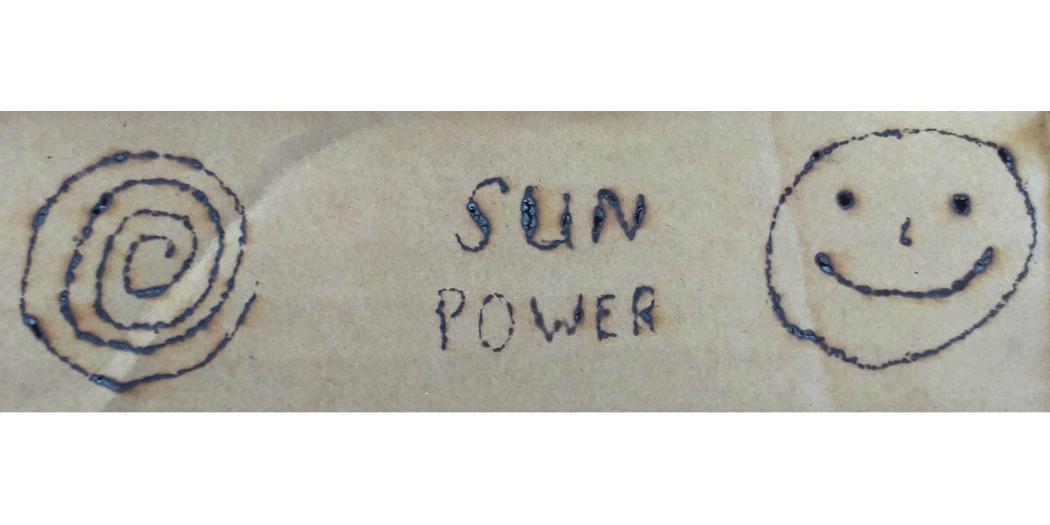
Take the ball (or magnifying glass) to an area where you have direct sun light, and where a little smoke won’t cause a problem. Get a piece of cardboard and either bring it slowly towards the glass ball, or the glass ball to it. You will notice the light starts off in a wide pattern and gets brighter and smaller as you bring it closer. When you get to the right spot (the focal point), all of the sun’s energy will be focussed on a very small spot which becomes hot enough to BURN the cardboard & if you carefully move the hot spot around you can burn shapes or words (the banner at the top of the page was made this way).
Remember, if it is hot enough to burn cardboard, it will burn skin in a fraction of a second so DO NOT try this on skin or anything else that should not be burned! Sunglasses are a good idea as the reflection can be very bright after a while. A magnifying glass will focus further away than a glass ball.
Dark Vs Light bottle temperature experiment

You need:
- 2x bottle of the same type (2L milk bottles work well but soft drink bottle would work)
- Black paint & brush
- Old waste paper
- Sunny windowsill
Method:
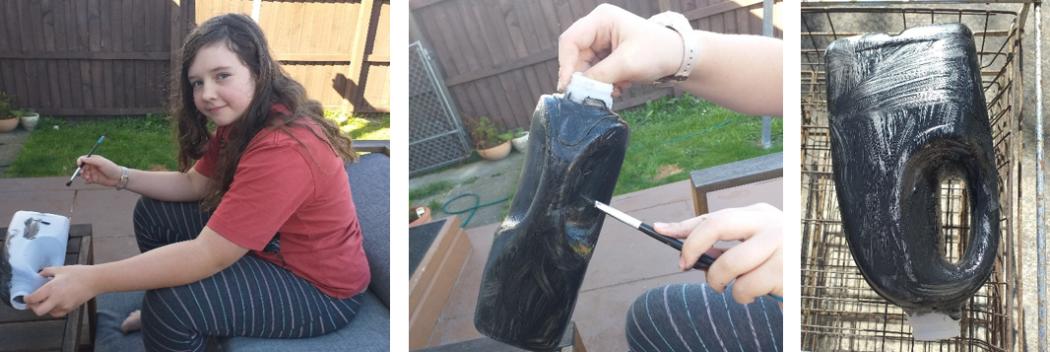
Find a good spot to paint one of the milk bottles. If you have no paint, you could try using black duct tape if you have it, or even using black food colouring (for the water we will put in the bottles later).
Helpful hints – you don’t need to paint the bottom of the bottle & you can use the opening as a hand hold spot. The paint job doesn’t need to be great – just cover most of it. Leave to dry outside where the paint won’t leave a mess – put a few stones inside if it is windy.
Once the paint is dry you can decide your next step:
- you have the choice to try this with the bottles with just air in them, or water (or if you have lots of bottles spare, you could even compare the two options).
- If you choose to fill your bottles with water be careful with the painted bottle – the paint may run if it overflows.
- If you choose to just use air you will need to put lids on – with water lids are optional, but will be slightly better with a lid.
- If you have a thermometer, then air is fine, but if you don’t, water is the better option.
Place your bottles on the most sunny windowsill you have (with waste paper underneath in case of paint or water drips).
Test these questions:
- Which do you think would warm faster just air or water?
- Will the black bottle warm more than the white/clear bottle?
- On a good sunny day, 2hrs in the sun should give a reasonable result but the longer the better. For a start, feel the outside of the bottles – any difference?
- What about inside the bottles?
- If you have a thermometer then measure the temperature, if not, just use a different pinky finger in each bottle to compare.
The sun is amazing!
Be safe everyone!
